How it works14 min read
How to Automate an Android App Without an API
Written by Petr Kynčl
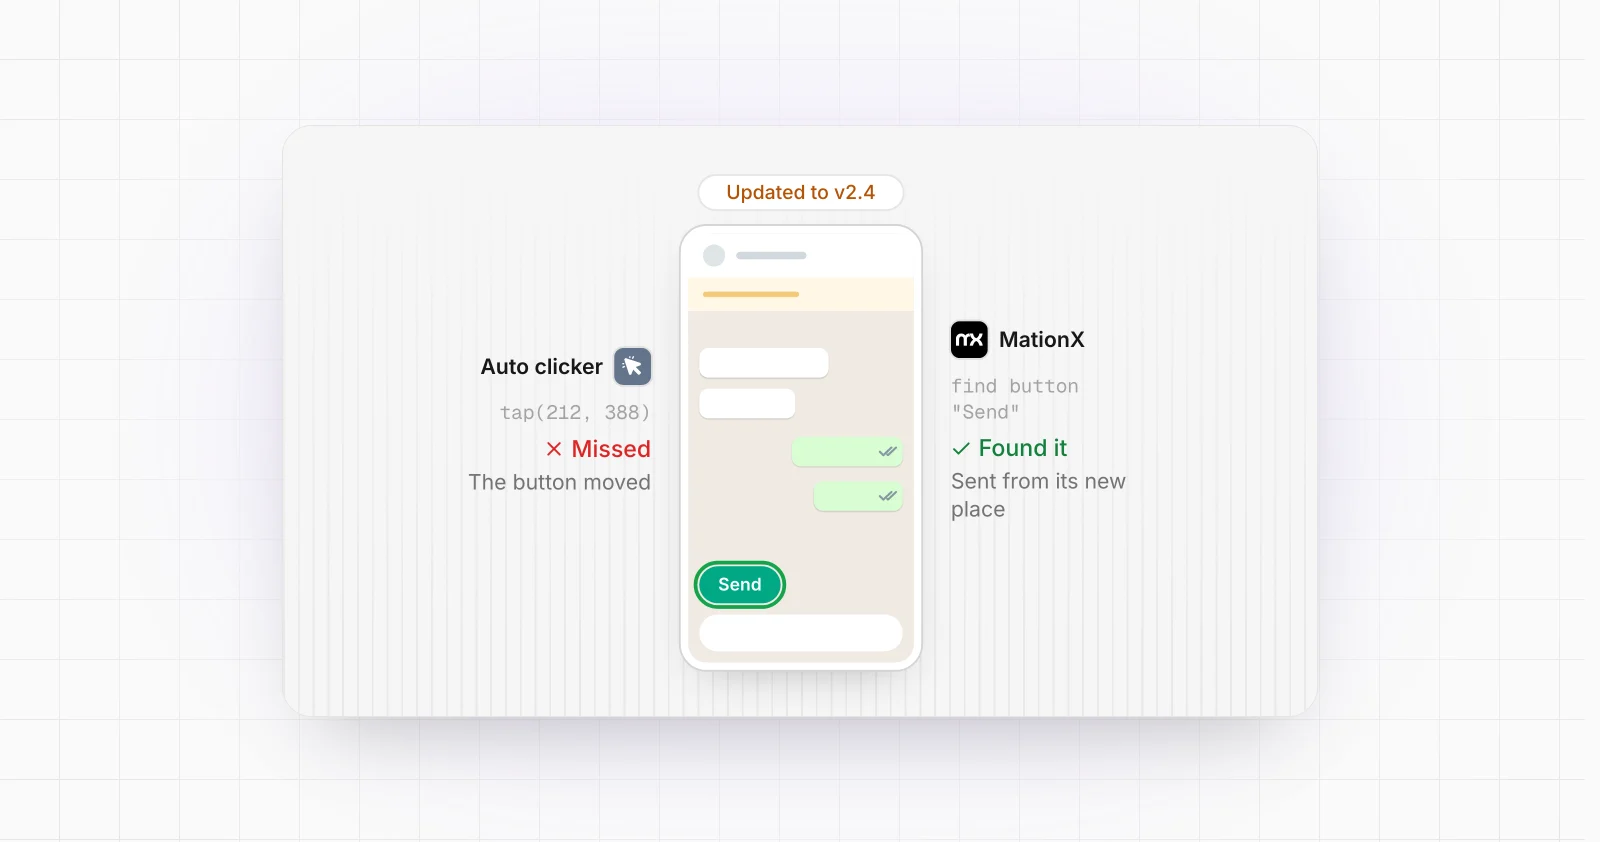
If an Android application does not expose a usable API, automation does not necessarily stop there. Android provides several layers through which software can observe or control an application, including intents, Android Debug Bridge, UI Automator, accessibility APIs, and higher level frameworks such as Appium.
The correct approach depends on what you are actually trying to automate.
A QA engineer who needs to run a checkout flow against an APK has different requirements from a company that needs a workflow running continuously on real phones. An internal automation running on five managed devices also has very different constraints from software distributed to customer owned phones.
The useful question is therefore not simply, "Can this app be automated without an API?" In many cases it can. The important question is which interface Android gives you that is stable, permitted, and practical for the environment where the automation must run.
First, verify that you really need UI automation
"No API" often means "no public REST API." That does not mean the app has no externally accessible integration points.
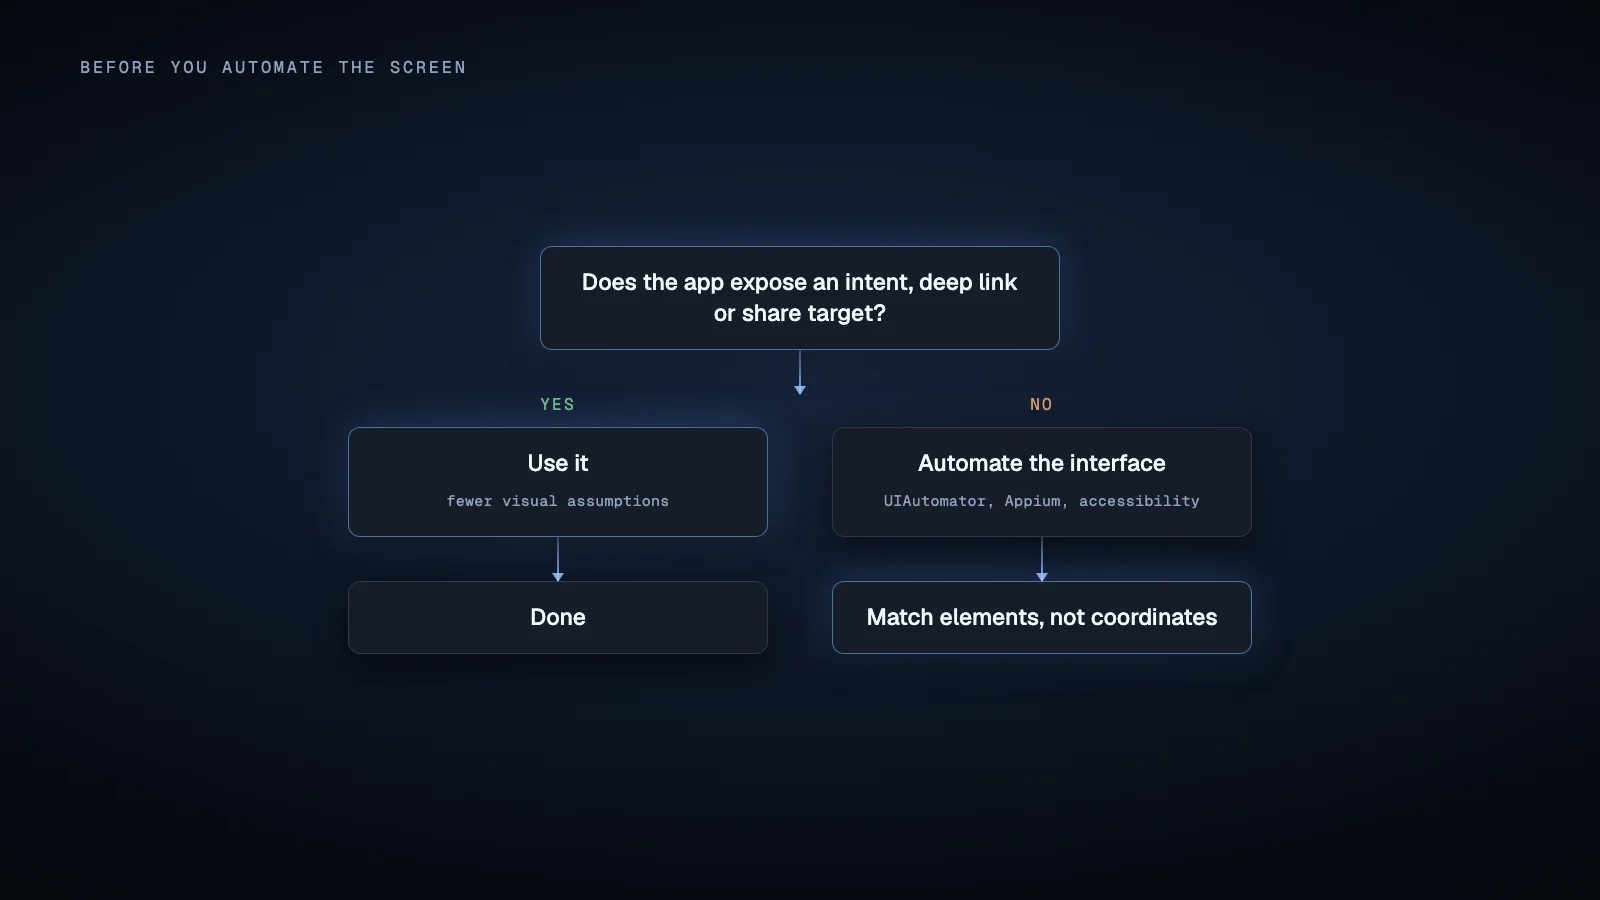
Before building something that presses buttons, investigate whether the required workflow can be initiated through Android itself.
Android applications can expose activities and actions through intents and intent filters. An intent can start an activity, carry data, or request an action from another application. Deep links use the same underlying system and can sometimes navigate directly to a specific screen inside an app. Android's documentation describes both explicit and implicit intents and how applications advertise supported actions through intent filters.
For example, if you need to open a particular order, profile, document, or conversation, an existing deep link may eliminate several UI navigation steps.
Other supported interfaces may include share targets, notification actions, exported activities, documented broadcast intents, Tasker plugins, or vendor supplied URI schemes.
Prefer these mechanisms when they are intentionally exposed by the application. They usually depend on fewer visual assumptions than a sequence of taps.
Undocumented network requests are a different matter. Discovering that an app communicates with a server does not turn those private endpoints into a supported API. Authentication formats, request signing, server behavior, and endpoint structure can change without notice. Authorization and the application's terms also matter. Reimplementing private traffic should not be treated as the default alternative to UI automation.
If no suitable integration surface exists, move to the UI layer.
UI Automator is the native Android option for external UI control
For native Android interfaces, UI Automator is one of the most important tools to understand.
Google describes UI Automator as a framework for interacting with user applications and system applications. Unlike testing approaches that operate inside the target application's process, UI Automator can inspect and interact with the device from outside that process. That makes it useful for opaque box testing of an installed application, including release builds.
UI Automator can locate exposed UI elements using properties such as text, content descriptions, and other accessibility information. It can click elements, enter text, scroll, press system buttons, open notifications, and interact with screens outside the target application.
That cross application capability matters in real workflows. A sequence might open an application, encounter an Android permission dialog, return to the application, open a system share sheet, and then continue in another application.
UI Automator is therefore much closer to controlling the device than to calling business logic inside the target app.
There is an important limitation. UI automation can only use structural selectors when Android can expose useful information about the interface. Google's own guidance recommends ensuring that target UI components expose visible labels or content descriptions.
If a screen is heavily custom rendered, or otherwise exposes very little useful accessibility information, the hierarchy may contain fewer reliable elements. Coordinate based interaction, screenshot matching, OCR, or computer vision can serve as fallbacks, but those approaches normally become more sensitive to resolution, layout, localization, and visual changes.
One current documentation detail is worth noting. AndroidX release notes list UI Automator 2.4.0 as a stable release from July 1, 2026, while one modern UI Automator guide still contains an alpha dependency in its setup example. The release notes are the better source for the current artifact version, so check them before copying a dependency declaration.
Appium adds a practical automation layer above Android
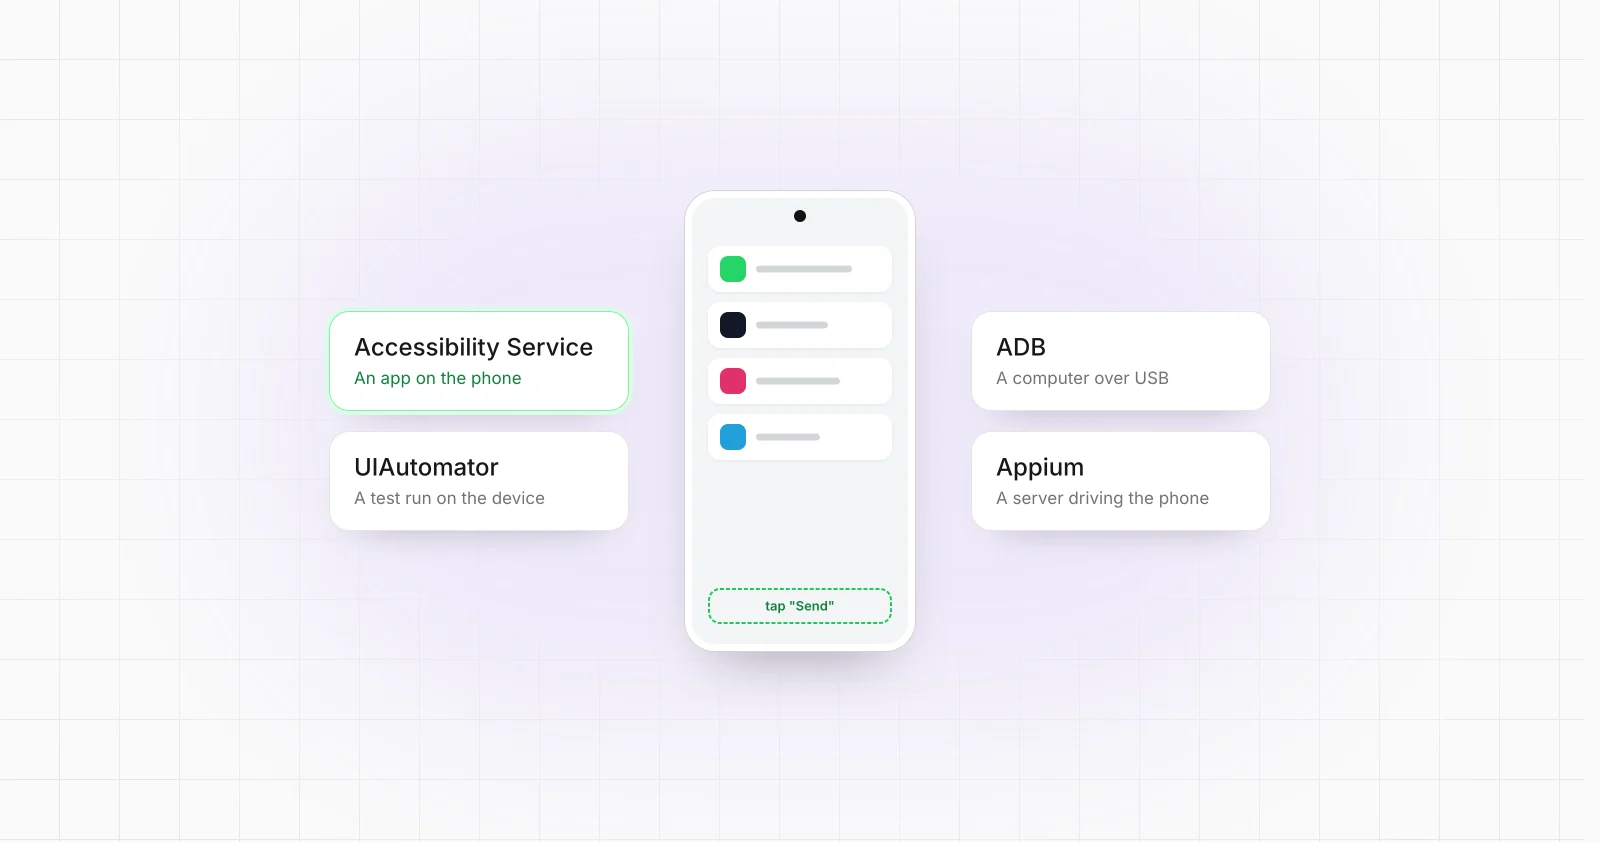
UI Automator provides the Android automation mechanism. Appium provides a broader automation framework around it. The four layers are compared side by side here.
Appium's official UiAutomator2 driver targets Android native apps, hybrid apps, mobile web applications, emulators, and real devices. The driver translates WebDriver commands into Android automation operations using an on device UiAutomator2 server and ADB communication.
This makes Appium particularly attractive when you want to write the control logic outside the Android device using Python, JavaScript, Java, C#, Ruby, or another supported client environment.
A typical workflow looks conceptually like this:
Your script creates an Appium session for a specific Android device.
Appium starts or attaches to the target application.
The script locates a UI element by an identifier, text, accessibility information, or another selector.
Appium asks the Android driver to perform an action.
The script waits for the expected next state and continues.
This is useful well beyond conventional test assertions. The same primitives can implement deterministic operational workflows, provided the way you deploy and use the automation is appropriate for the target service.
Appium also has a meaningful advantage for hybrid applications. Its UiAutomator2 driver can switch between the native Android context and compatible WebView contexts. However, the WebView must be configured so that the required debugging connection is available. You cannot assume that an arbitrary production WebView inside a third party application will expose a usable web context.
For teams already comfortable with backend programming and test infrastructure, Appium is often the easiest bridge between an Android device and conventional server side code.
ADB is excellent infrastructure, but it is not a complete UI automation model
Android Debug Bridge, or ADB, is the standard development interface for communicating with Android devices.
ADB can install applications, execute shell commands, collect logs, transfer files, address individual connected devices, and provide the communication foundation used by many higher level Android automation tools. Google documents ADB as a client, server, and device daemon architecture, with the host server maintaining connections to available devices.
For a small device lab, this makes ADB extremely useful.
It can handle device setup, application installation, process management, diagnostics, screenshots, log collection, and commands around the actual UI workflow. When several phones are connected, commands can be routed to a specific device using its identifier.
Android 11 and later also support wireless debugging with pairing. That is convenient for controlled networks, although it does not turn ADB into a general public internet device management protocol.
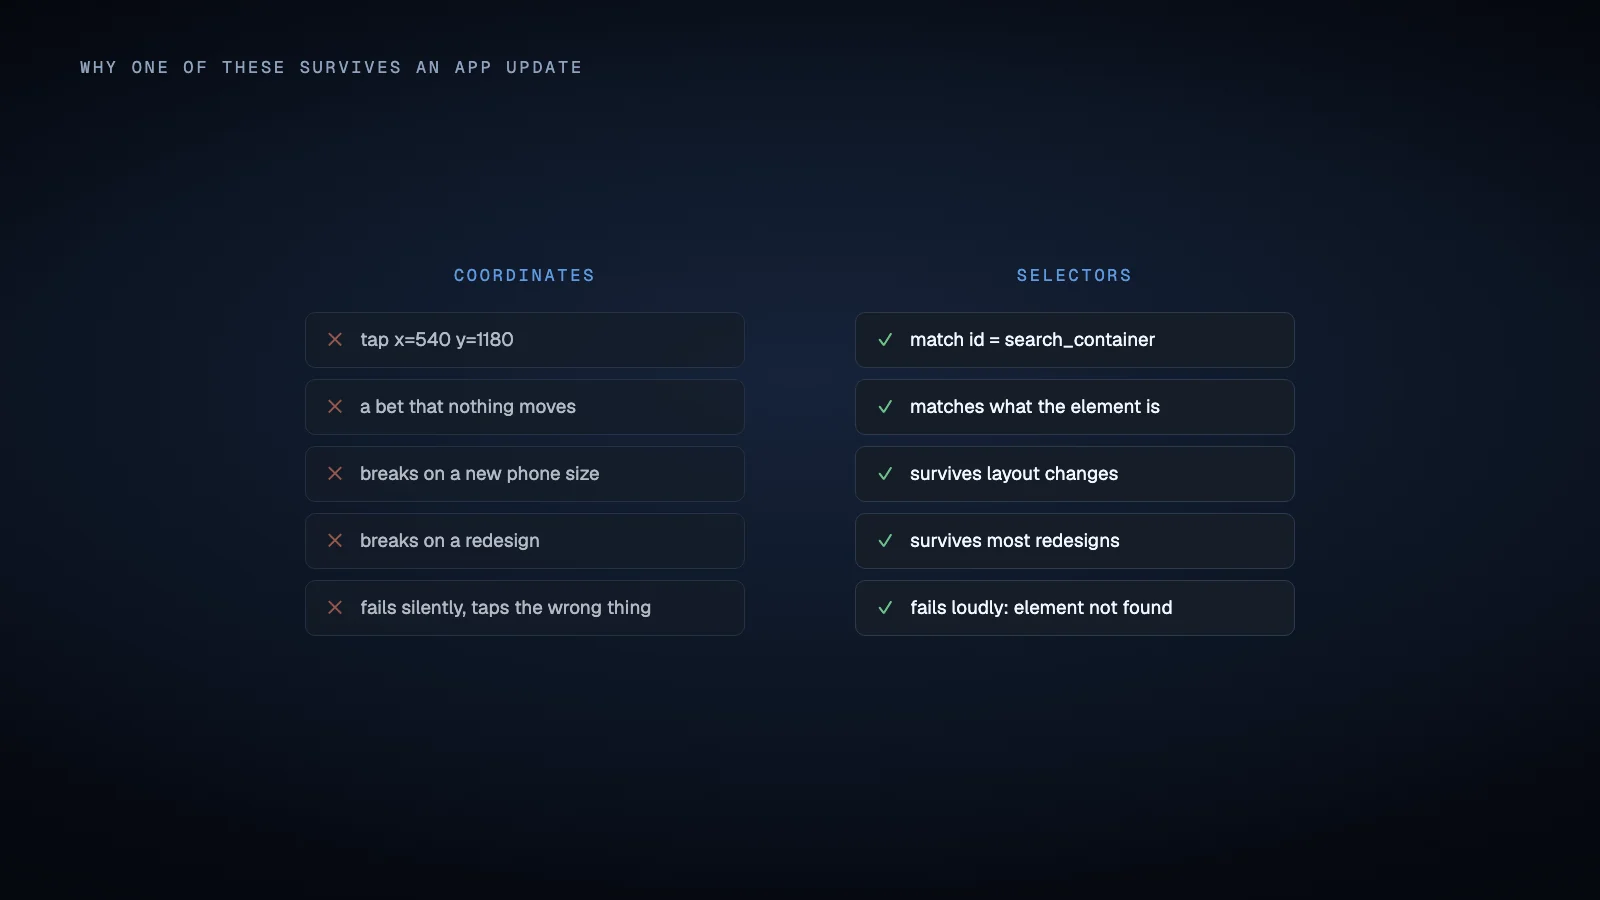
For reliable application interaction, raw ADB commands alone are usually too low level. A sequence based primarily on screen coordinates knows that it tapped position X and Y. It does not inherently know that a particular button existed, that the correct screen was loaded, or that the operation succeeded.
A stronger design uses ADB for device communication and administration, then UI Automator or Appium for state aware interaction.
Accessibility Services enable another kind of Android automation
A different approach is to run the automation logic on the Android device itself through an AccessibilityService.
Android accessibility services can receive UI events, inspect the active window when configured to retrieve its content, perform actions on accessibility nodes, issue global actions such as Back, and, when the appropriate capability is declared, dispatch gestures.
This model is useful when the automation must react to events locally rather than maintain an Appium session from a workstation.
For example, a device side service can observe a relevant UI change, inspect the current screen, decide which predefined workflow state applies, perform an action, and report the result to a backend.
Tools such as Tasker and AutoInput provide a higher level way to build some of these workflows. AutoInput can query the current UI and act on elements, while Tasker can supply triggers, variables, HTTP calls, application events, and surrounding workflow logic. The developer's AutoInput documentation describes UI queries and element based interaction, and current Tasker documentation also exposes access to its accessibility service from Tasker's Java code facilities.
This can be substantially faster to prototype than building a complete Android application when the workflow is relatively small.
It is not equivalent to unrestricted background control, however. Android controls the accessibility service lifecycle, and the user normally enables the service through system settings. Device maker behavior and Android background restrictions can also affect unattended deployment. Tasker's own documentation notes that some custom Android implementations can behave differently around app detection and accessibility dependent behavior.
Accessibility automation also has a policy constraint
Technical capability is only one part of the decision.
Android's developer documentation describes accessibility services as technology intended to assist users with disabilities and cautions developers against treating them as a general purpose accessibility mechanism. Google Play policy is more specific about distribution.
Google Play currently permits AccessibilityService use in a wider range of applications, but non accessibility tools have disclosure and consent requirements. For automation specifically, Google's policy says actions must have a narrow and clearly understood purpose. It permits deterministic, rule based automation based on a human defined script, while prohibiting non accessibility applications from using the Accessibility API to autonomously initiate, plan, and execute actions or decisions.
That distinction is important if you intend to distribute the automation through Google Play.
An internal enterprise APK, an automation running on devices you administer, an Appium test environment, and a consumer application distributed through Play are not the same deployment model. Review the rules that apply to the one you actually plan to use.
How to make UI automation reliable enough for real work
The difference between a demo and a maintainable automation is usually not the ability to tap the first button. It is state management.
A production workflow should treat the Android UI as an external system whose state must be observed before and after important actions.
Prefer stable identifiers and accessibility properties when available. Text selectors are useful, but they can change with localization or copy updates. Coordinates should generally be a fallback rather than the primary selector.
Do not build long scripts from fixed delays such as "tap, wait two seconds, tap again." Wait for evidence that the next state exists. Modern UI Automator explicitly provides waiting and application state primitives for this reason.
Model failure states deliberately. A button may disappear. A loading screen may persist. A permission prompt may appear once on a new device. The application may return to login. Network connectivity may fail midway through a workflow.
For every important step, define the expected state, the timeout, whether the action can safely be retried, and what evidence counts as success.
Also record enough information to debug failures. Useful records include the device identifier, workflow identifier, current app package, current step, timestamps, selector used, result, relevant application or ADB logs, and a screenshot on failure.
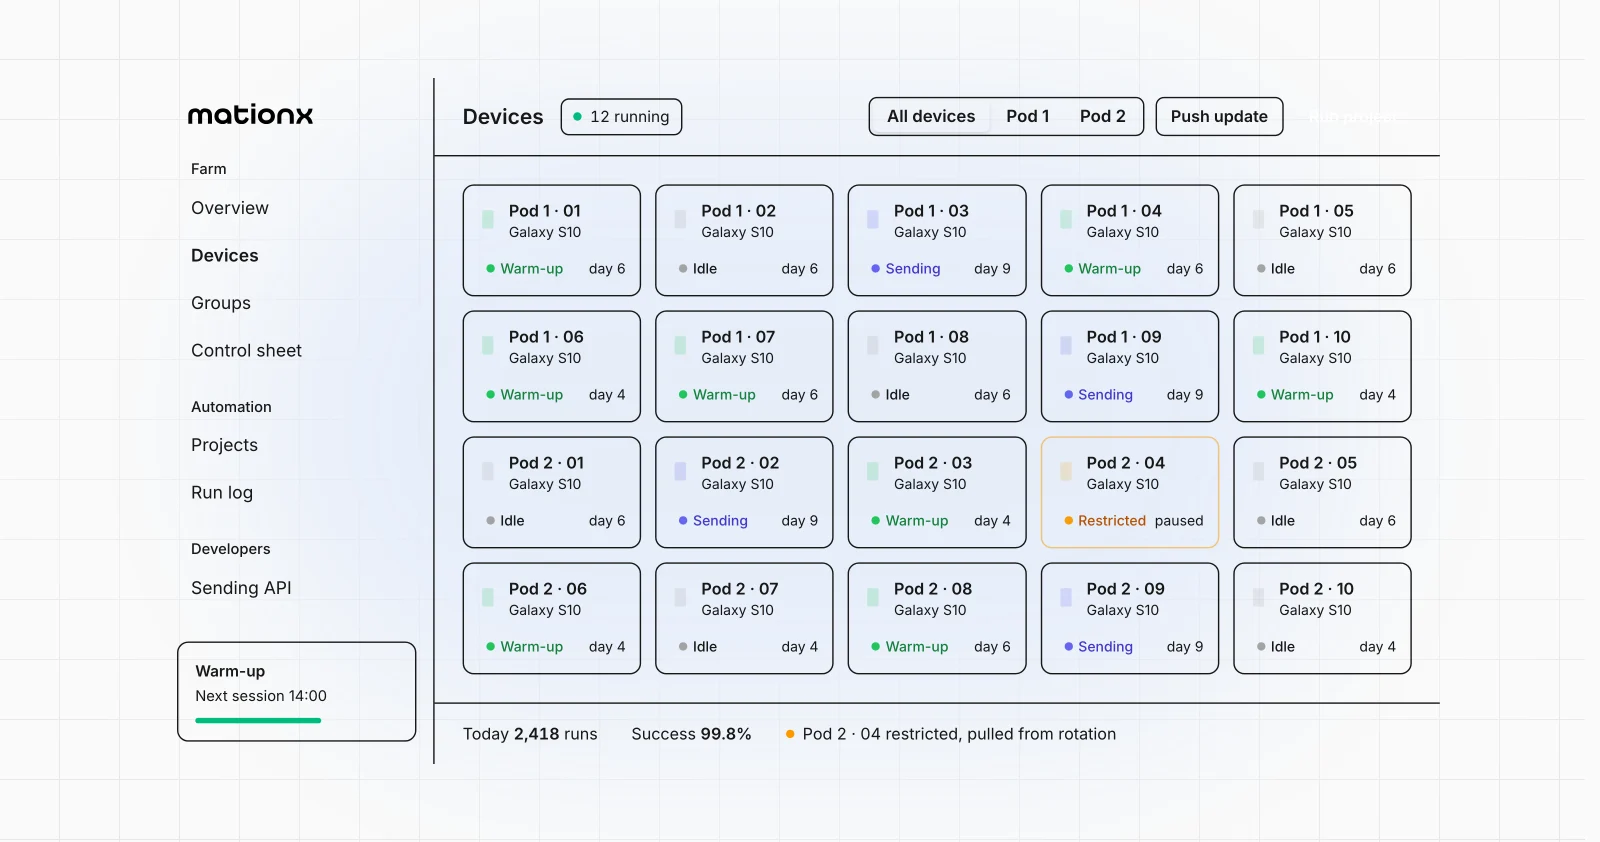
Once several devices are involved, device health becomes part of application logic.
Real devices or emulators?
Both are valid automation targets.
Appium's UiAutomator2 driver supports real devices and emulators, and Android's own UI testing tools can run on either. Where that choice actually matters is covered in real devices versus emulators.
Emulators are convenient when you control the application, need reproducible QA environments, or want many disposable test instances.
Real devices become important when the workflow depends on characteristics of actual hardware or an actual device environment. Examples can include SIM dependent behavior, mobile network conditions, OEM specific Android behavior, device specific permissions, hardware sensors, push notification behavior, or simply the requirement to reproduce exactly what a user sees on a physical phone.
Google itself recommends testing Android applications on real hardware before release while also recommending emulators for coverage across platform versions and screen sizes.
The right answer can therefore be both. Use emulators where their reproducibility is valuable and real devices where the workflow depends on real device state.
A practical architecture for backend controlled Android automation
If the goal is not testing but operating an Android workflow from a backend, separate orchestration from device execution.
A practical design has four responsibilities.
First, the backend decides what should happen. It stores jobs, business state, credentials or references to credentials, retry policy, and the device to which a job is assigned.
Second, a device communication layer identifies each Android device and transports commands. In a local lab this could be an ADB connected host. For geographically remote devices, an on device agent with an authenticated outbound connection to the backend is usually a cleaner boundary than exposing development interfaces directly.
Third, the Android executor performs the workflow. Depending on your constraints, that could be Appium and UI Automator controlled from a nearby host, or an on device automation component using permitted Android APIs.
Fourth, the device returns structured results. Do not merely report that a tap command executed. Report whether the intended application state was reached, along with diagnostics when it was not.
This separation lets the backend think in terms such as open order, collect status, or complete workflow, while the Android layer deals with selectors, dialogs, application versions, and device specific behavior.
It also makes later changes less destructive. When an application redesigns one screen, you update the Android workflow instead of rewriting your entire backend.
When an Android app without an API is still a bad automation target
Some applications are technically controllable but operationally poor candidates.
If the required information is never exposed through the UI or another legitimate interface, UI automation cannot create access that does not exist.
If the workflow requires bypassing platform security, defeating application protections, or violating the service's rules, choosing a different automation framework does not solve the underlying problem.
And if the target interface changes constantly while the task has serious financial, legal, or safety consequences, a brittle screen workflow may be the wrong integration architecture entirely.
The best Android automation projects therefore start with a short feasibility test on the real target application and deployment environment. Inspect the UI hierarchy, identify stable selectors, test the critical path, determine what permissions are required, and deliberately trigger failures before committing to a larger system.
Turning the workflow into a managed system
For a single phone, a Tasker workflow, UI Automator script, or Appium session may be enough.
When the requirement becomes "run this Android workflow on real devices and connect the results to a backend," the problem expands into device communication, execution state, retries, monitoring, and deployment.
MationX builds, runs and maintains Android automation for apps without an API on real devices, and can connect those workflows to backend systems. It is one possible approach when the requirement has moved beyond a standalone automation script.
A sensible first step is still the same: automate one representative workflow on one representative device and prove that the target application's UI exposes enough stable state to make the automation maintainable.
If that works, you can then decide whether to keep the solution as a local script or turn it into a managed real device workflow.
Sources
Android Developers, Create an accessibility service. Android Accessibility Service documentation
Android Developers, Write automated tests with UI Automator. Modern UI Automator documentation
AndroidX, Test Uiautomator release notes. UI Automator release notes
Android Developers, Android Debug Bridge. Official ADB documentation
Appium, UiAutomator2 Driver. Official Appium UiAutomator2 repository
Appium, Install the UiAutomator2 Driver. Appium Android setup documentation
Android Developers, Intents and intent filters. Android intents documentation
Android Developers, Create deep links. Android deep link documentation
Google Play Console Help, Use of the AccessibilityService API. Google Play AccessibilityService policy
Tasker and AutoInput, AutoInput FAQ and UI Query documentation. Official AutoInput documentation
Tasker, Java Code documentation. Official Tasker Java Code documentation
Android Developers, Run apps on a hardware device. Android real device documentation